
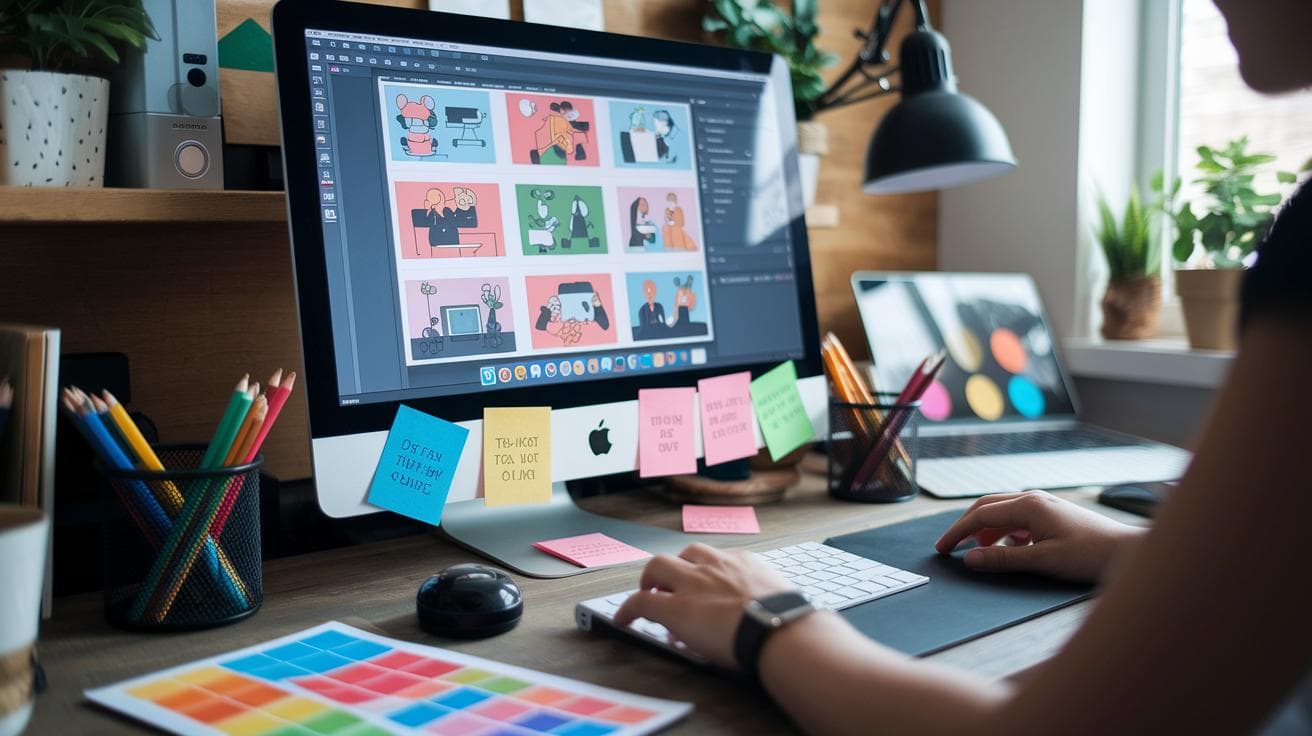
Have you ever wondered how a few words can spark a piece of art?
Picture typing a simple prompt and then seeing slick, vector-style designs – crisp outlines, flat colors that just pop. It’s kind of like the quiet hum of a well-oiled machine, you know, turning your ideas into visuals.
Midjourney makes it happen, once you nail the right prompt formulas and settings. It’s almost magical – but it really comes down to structure and a few tweaks.
In this guide, you’ll find plug-and-play prompt templates and insider tips for razor-sharp lines. You’ll also get straightforward export steps to keep your illustrations looking crisp in any app.
Ready to dive in?
Prompt Engineering for Vector-Style Art

When you’re aiming to generate crisp vector-style illustrations with Midjourney, focus on five baseline components in your prompt: the subject you want (say a fox or a bicycle), style tags that hint at flat color and bold outlines, a clear color scheme (pastel, primary, or monochrome), the aspect ratio to frame your composition, and a simple background (usually “png white background”). Think of these like ingredients in a recipe, each one shapes the final look in a big way.
For quick templates, you can swap out the subject or tweak the color words but keep the structure intact. For a full illustration, try:
“Vector art of [subject], flat style, bold lines, pastel color scheme, png white background, vector illustration, –ar 3:4 –s 50 –v 5.”
And if you need a square icon or logo, here’s a leaner variant:
“Icon of [object], flat color, bold stroke, no shading, png white background, vector illustration, –ar 1:1 –s 50 –v 5.”
Minimalist Icon & Logo Prompts
When you want a super-clean icon or logo, these tweaks help:
- Bold stroke: add “bold stroke” to lock in consistent line weight.
- Negative prompt (–no shading): strips out any unintended shadows or gradients.
- Simplify tags: drop extra adjectives, flat color, vector illustration keeps it tight.
- Aspect ratio tweak: stick to –ar 1:1 for social icons or favicons.
Example:
“Icon of a leaf, flat color, bold stroke, –no shading, png white background, vector illustration, –ar 1:1 –s 50 –v 5.”
To refine your visuals, dial the stylize parameter down to –s 50 for sharper edges and use version 5 with –v 5 so lines stay crisp and true to your design. You can peek at midjourney creative mode settings for more tips on tuning stylize and version parameters.
Tuning Midjourney Settings for Sharp Vector Lines

Have you ever wondered how those bold, clean vector lines come to life? It’s all about dialing in a few key Midjourney settings, and they’re simpler than you might think.
First up is the stylize parameter (–s). Think of it as a filter that strips away extra flourishes. Setting it low, around 50, gives you crisp, no-nonsense outlines. You’ll almost feel the smooth glide of those lines as they lock into place.
Next, bump the quality setting (–q) to 2. It slows the render just enough so the AI can lock in those tiny details. Picture the quiet hum of the engine as it refines every nook and cranny.
Then switch on the upscaler (–upbeta). This little helper sharpens edges right before export, so your lines look extra crisp when they hit the canvas.
And don’t forget Version 5 (–v 5). Compared to earlier versions, it delivers more consistent strokes and better line integrity. You’ll notice the difference in every curve.
| Parameter | Recommended Setting | Impact |
|---|---|---|
| Stylize (–s) | 50 | Sharper edges, simpler shapes |
| Quality (–q) | 2 | Finer detail, a bit slower render |
| Upscaler (–upbeta) | Enabled | Crisp line definition |
| Version (–v) | 5 | Smoother, more consistent strokes |
Once you’ve got those settings ready, just append “–s 50 –q 2 –upbeta –v 5” to any vector-style prompt. Yep, it’s that simple. If you’re curious about diving deeper into edge clarity or upscaler tricks, swing by improving image clarity in Midjourney generative art. With these tweaks, your bold outlines and clean fills will practically pop off the screen, giving your vector-inspired pieces a polished, professional vibe.
Composition and Aspect Ratios for Scalable Midjourney Vector Outputs

Have you ever noticed how an image can feel squished or stretched? That all comes down to aspect ratio, the relationship between width and height. Midjourney uses codes like -ar 1:1, -ar 3:4, or -ar 16:9 to lock in your frame from the start.
A square canvas at -ar 1:1 is perfect for logos or icons.
Want a portrait? Try -ar 3:4 to give your character room to breathe.
And for wide headers or hero shots, -ar 16:9 feels just right.
Setting your aspect ratio early means you dodge messy trims later. When you convert to SVG (Scalable Vector Graphic, an image format that scales without losing quality), you’ll see crisp edges and clean shapes ready to go.
Next, plan your layout with a minimalist eye. Leave plenty of breathing space so negative space becomes neat vector paths instead of clutter. Center or shift your main subject using a mental grid to avoid awkward cuts.
Then, bake in framing hints right in your prompt, something like “framed by white space.” It’s a simple nudge that locks in a polished look. No guesswork. No redoing.
Incredible how a few upfront choices can save you hours of fiddling when you need to stretch or shrink your design. And that, my friend, is non-destructive scaling at its finest.
Vectorization and Post-Processing Workflow for Midjourney Raster-to-Vector Conversion

Ever wished you could skip that time-consuming manual tracing? Just drop your Midjourney PNG into Vectorizer.AI – it’s like handing your image off to a tiny robot assistant!
In seconds, you’ll hear a soft hum as the AI turns your raster into neat SVG (scalable vector graphic) and EPS (common vector file format) files for print or web. It really is that easy: upload, wait, download. No manuals or tutorials needed.
| Tool | Workflow Step | Output Format |
|---|---|---|
| Vectorizer.AI | Automatic PNG→SVG/EPS export | SVG, EPS, PDF, DXF |
| Adobe Illustrator | Image Trace, refine nodes & strokes | SVG, PDF, EPS |
| Inkscape | Path simplify & curve tolerance | SVG, DXF |
Need results fast or want a huge selection of formats? Vectorizer.AI nails it with minimal fuss. But when your project calls for curves so smooth you could trace them with your eyes, Adobe Illustrator’s Image Trace feels like sculpting marble – you smooth every stroke to perfection.
Inkscape sits right in the middle: completely free, with path simplify and curve tolerance tweaks that give you control without a pricey subscription. Choose what fits your project scale – big icon set for a website? Vectorizer.AI in a blink. Complex brand logo that needs multiple file types? Illustrator might be worth the extra clicks. On a budget but still want strong path optimization? Inkscape’s your friend.
Exporting and Preparing Vector Files from Midjourney for Print and Web

So you’ve got a crisp raster draft and you’re ready to make it print-ready. Pick EPS for large prints or PDF if you want an editable file. Need a clear background? Just type “png transparent background” in your prompt or check the transparency box when you export. That easy step gives you a clean vector with no extra backdrop. Your logo or illustration will drop right onto a poster, brochure, or website mockup without any fuss.
Once your vector file is in hand, it’s time to choose a color mode. Go with CMYK (that’s what printers use) for anything you plan to print. Or stick with RGB for those bright, vibrant web displays. Next, let’s slim down the file size. Open it in your vector editor, simplify complex paths, and remove any unused points or nodes. Leaner files load faster in browsers, print more smoothly on press, and keep your layers tidy, just what you need when you’re juggling multiple assets or sharing designs with a team.
Best Practices and Common Pitfalls in Generating Vector-Style Illustrations with Midjourney

Have you ever asked Midjourney for every swirl and tiny detail? Then, when you turn that into a vector, you end up with a tangle of paths and odd color bleeds. It’s like dumping a bucket of paint and watching it run everywhere.
When you spot shaky lines or loops where they shouldn’t be, don’t panic. Open your vector editor. Merge overlapping paths or tweak the curve handles until the lines flow smoothly. It’s a bit like untangling earbud cords, annoying, but totally satisfying when it’s done.
Next, keep your prompt simple and bold. Go for big shapes and flat fills. For example: “A red apple with a thick black outline and no shading.” You’ll get sharp edges and solid blocks of color. And you can almost hear the quiet hum of a perfect vectorization, pure bliss.
So you’ve seen how to craft a solid prompt with subject, style tags, colors, aspect ratio, and background. We even tossed in icon tweaks like bold strokes and no shading, then dialed stylize to 50 and version 5 for clean edges. Finally, you got the lowdown on turning PNGs into SVG or EPS and prepping files for print or web.
Sounds like a lot, you know? Try one step at a time. Tweak your prompts, test the outputs, and before you know it you’ll be nailing crisp lines and smooth curves.
Ready to make your own vector art? Now you’re all set to see exactly how to generate crisp vector-style illustrations with Midjourney in any project you tackle.
FAQ
How do I generate crisp vector-style illustrations with Midjourney free?
Generating crisp vector-style illustrations with Midjourney free involves crafting prompts with five parts: subject, style tags, color scheme, aspect ratio, white background, plus parameters –s 50 and –v 5 for sharp lines.
What are effective Midjourney prompts for vector art?
Effective Midjourney prompts for vector art use clear style tags, flat color, bold lines, and precise ratios. For example: “Vector art of fruit, flat style, pastel palette, –ar 3:4 –s 50 –v 5.”
Can Midjourney generate vector images?
Midjourney generates high-resolution raster images styled like vectors but not true SVGs. To get scalable vector files, run your PNG through a converter like Vectorizer.AI or Illustrator’s Image Trace.
How do I turn an image into a vector illustration?
Turning an image into a vector illustration means importing your Midjourney render into a tool like Illustrator or Inkscape, then using Image Trace or path simplify features to export as SVG or EPS.
Can ChatGPT make vector images?
ChatGPT creates text-based prompts for vector generation but cannot produce images directly. You can ask it to craft Midjourney or Stable Diffusion prompts tailored to crisp vector-style art.
What is Vectorizer.AI and how does it help vector art?
Vectorizer.AI is an online tool that automatically converts PNG or JPG files into clean SVG or EPS formats, offering fast, node-optimized results ideal for turning Midjourney outputs into true vector graphics.